Introduction
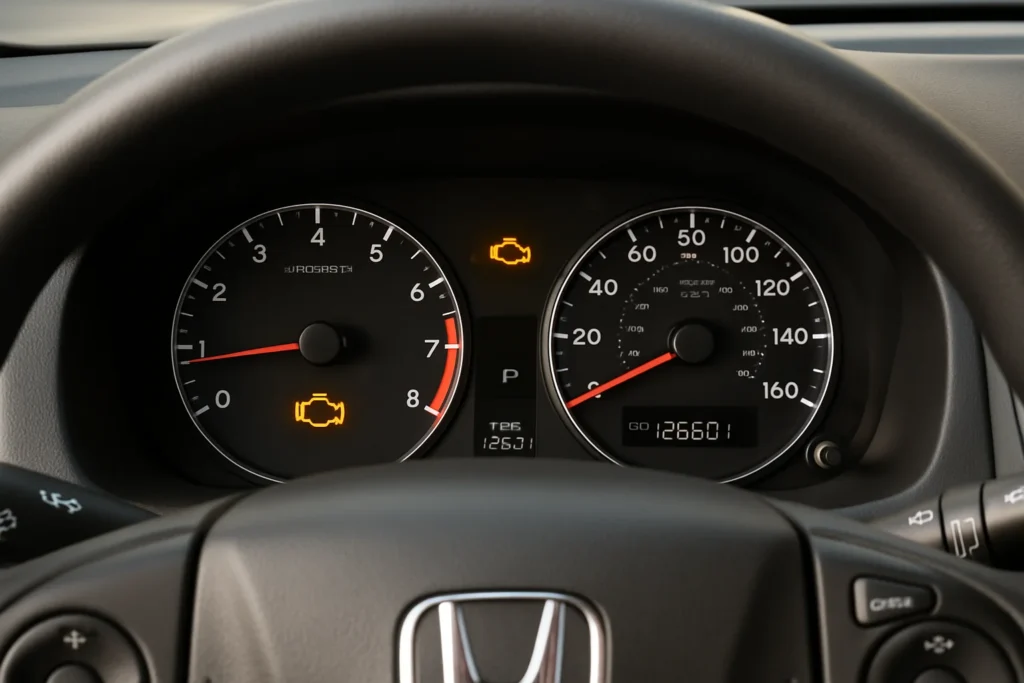
It’s a moment every driver dreads: you’re cruising along, and suddenly, that ominous amber glow appears on your dashboard—the Check Engine Light (CEL). For many Honda owners, this light triggers immediate anxiety. What’s wrong? Is it serious? How much is this going to cost?

While the CEL can indicate a wide range of issues, from minor to severe, understanding what it means and how to address it can save you significant stress and money. Your Honda is equipped with a sophisticated On-Board Diagnostics system (OBD-II) that monitors various engine and emissions components. When it detects a problem, it illuminates the CEL and stores a specific Diagnostic Trouble Code (DTC) in its memory.
Having a basic understanding of the most common Honda error codes empowers you as an owner. It allows you to have more informed conversations with mechanics, potentially diagnose and fix simple issues yourself, and prevent minor problems from escalating into costly repairs. Ignoring the light is never the answer; addressing it promptly is key to maintaining your Honda’s reliability and performance. Remember, the CEL is different from the Maintenance Minder system, which indicates scheduled service needs.
In this guide, we’ll demystify the check engine light, explain how to retrieve the error codes, and decode the 10 most common DTCs encountered by Honda owners. We’ll explore potential causes, diagnostic steps, and simple fixes you might be able to perform, helping you navigate the world of Honda diagnostics with confidence.
Understanding Your Honda’s Check Engine Light
Not all check engine light illuminations are created equal. The way the light behaves can offer initial clues about the severity of the problem.
Solid vs. Flashing Light: What’s the Difference?
- Solid CEL: This is the most common scenario. It indicates that the OBD-II system has detected a fault that needs attention but is not immediately critical. You should have the vehicle checked as soon as reasonably possible, but you can typically continue driving.
- Flashing CEL: This signals a more serious problem, usually a severe engine misfire that could damage the catalytic converter—one of the most expensive emissions components. If your CEL is flashing, you should reduce speed, avoid heavy acceleration, and have the vehicle diagnosed immediately. Driving with a flashing CEL can lead to costly repairs.
Accompanying Warning Lights
Sometimes, the CEL illuminates alongside other warning lights, providing additional context:
- VSA (Vehicle Stability Assist) Light: Often illuminates with the CEL, especially if the issue affects engine performance or sensor readings used by the VSA system.
- Traction Control Light: Similar to the VSA light, it can be triggered by engine-related faults.
- D (Drive) Indicator Flashing (Automatic Transmission): May indicate a transmission-related fault code stored alongside the engine code.
Why Ignoring the Light is a Bad Idea
Ignoring the CEL, even if the car seems to be running fine, can lead to:
- Increased Emissions: Your vehicle may fail emissions tests.
- Reduced Fuel Economy: The underlying issue often impacts fuel efficiency.
- Further Damage: Minor issues (like a faulty sensor) can lead to major component failure (like a damaged catalytic converter) if left unaddressed.
- Unexpected Breakdown: A seemingly minor issue could escalate, leaving you stranded.
Critical vs. Non-Critical Codes
While any CEL deserves attention, codes range in severity:
- Non-Critical (Often Emissions-Related): Issues like a loose gas cap (P0455/P0456) or minor sensor faults might not immediately affect drivability but still need fixing.
- Potentially Critical: Codes indicating misfires (P030X), lean/rich conditions (P017X), or thermostat issues (P0128) can impact performance and potentially cause damage if ignored. Electrical issues can also trigger the CEL; learn more about diagnosing them in our guide to the Starter-Alternator-Battery Triangle.
- Critical (Requires Immediate Attention): A flashing CEL indicating severe misfires falls into this category.
How to Access Honda Error Codes
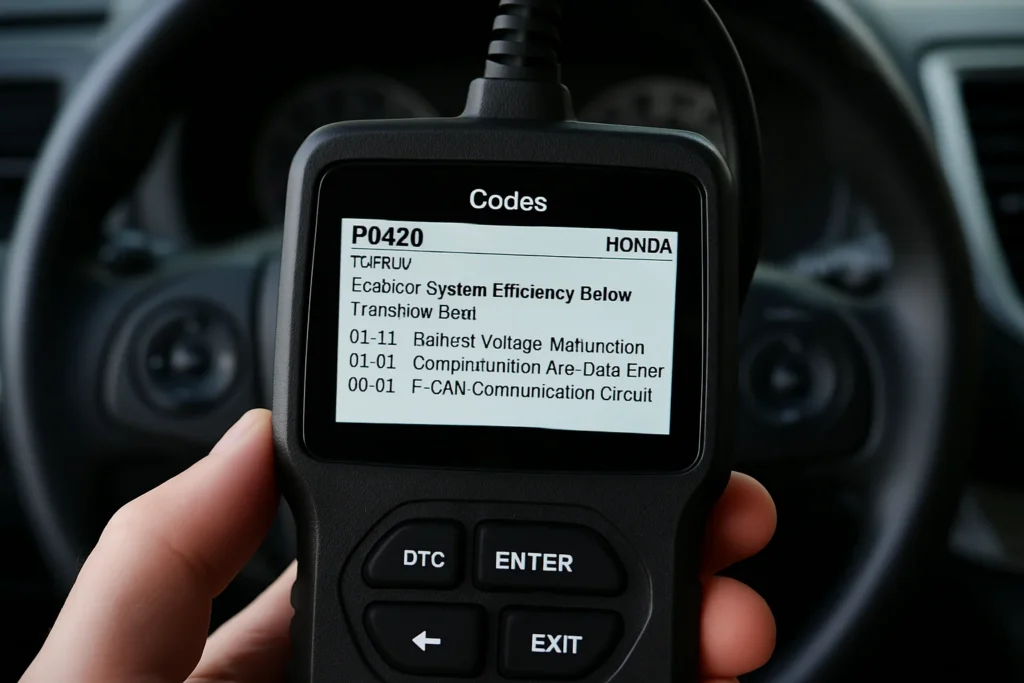
To understand why your CEL is on, you need to retrieve the stored Diagnostic Trouble Code(s). This is done using an OBD-II scanner.

OBD-II Scanner Options:
- Professional Scanners: Used by mechanics, offering advanced diagnostics and features ($500 – $5,000+).
- Consumer-Grade Handheld Scanners: Affordable, easy-to-use devices that read and clear codes ($30 – $200).
- Bluetooth/Wi-Fi OBD-II Adapters: Small devices that plug into the OBD-II port and connect to a smartphone app (like Torque, OBD Fusion, BlueDriver) ($20 – $100). These offer a good balance of features and affordability for DIYers.
- Auto Parts Stores: Many major auto parts stores offer free code reading services.
Cost Comparison:
- Free: Using an auto parts store service.
- $20 – $100: Bluetooth/Wi-Fi adapter + smartphone app.
- $30 – $200: Handheld consumer scanner.
Investing in a basic scanner or adapter often pays for itself by saving you a single diagnostic fee at a mechanic ($75 – $150). Considering the cost of repairs, understanding whether to DIY or go to the Dealership is crucial.
Step-by-Step Process to Retrieve Codes:
- Locate the OBD-II Port: On most Hondas, it’s located under the dashboard on the driver’s side, near the steering column.
- Connect the Scanner: Plug the scanner or adapter into the port. The vehicle’s ignition should be in the ON position (engine off) or running, depending on the scanner’s instructions.
- Establish Connection: Follow the scanner’s prompts to connect to the vehicle’s computer.
- Read Codes: Select the option to read DTCs or check fault codes.
- Record the Codes: Write down the exact code(s) displayed (e.g., P0420, P0301). Note if any codes are listed as


